Other Features
Search
Global Search can help you quickly find projects, tasks, comments, files and people... It is located in the top left.
Quick Search results are displayed below the search box — those are the results within the projects/tasks loaded on your screen right now:
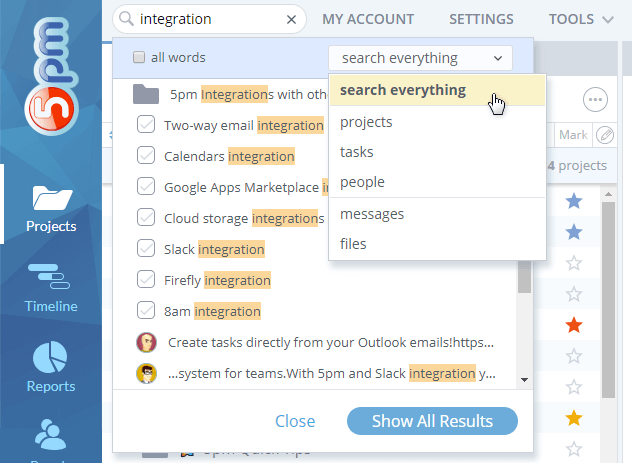
You can filter the type of results — for example, you can search only the tasks:
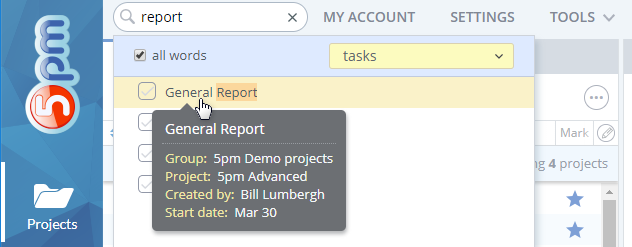
Using "all words" filter allows you to look for results that contain all the listed words, not just any. Rollover on a search result will show you short information about it.
Do not find what you need in Quick Search results? Then use the Show All Results button. It will open the Full Search results in a separate tab:
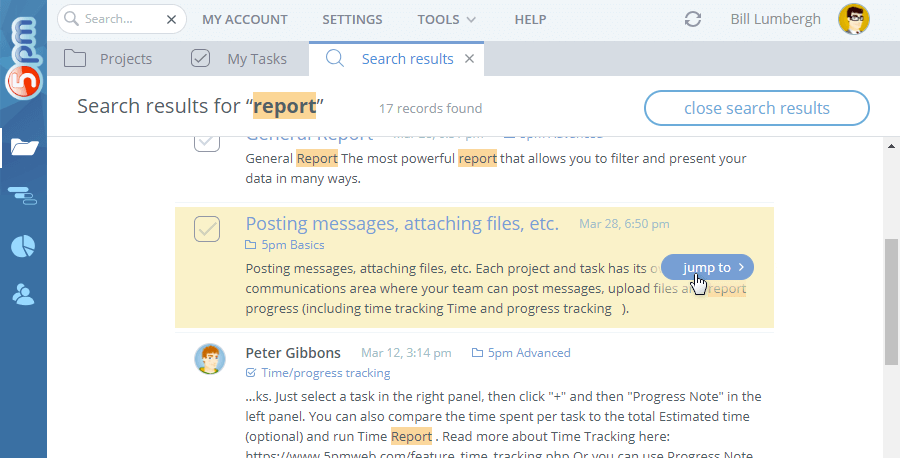
You can scroll through Full Search results and use the rollover to reveal the "jump to" button that will take you to a specific result.
The "Search results" tab will stay open until you explicitly close it, which means you can jump between search results in the Main View and back, without losing your Full Search results.
Notification Center
5pm Notification Center displays in one place the Deadline Reminders and the Automation logs:
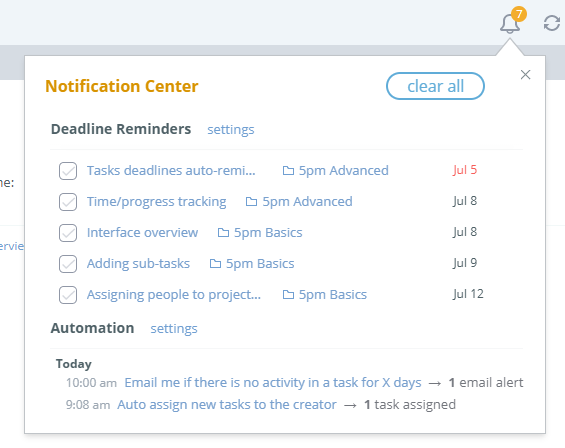
You can open it by clicking on the bell icon in the top right of your interface.
Custom Tags
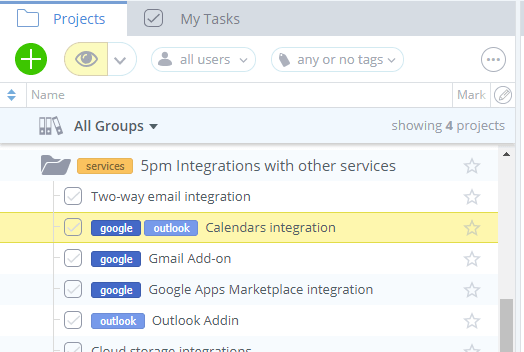
Projects and Tasks can have one or multiple tags assigned to them:
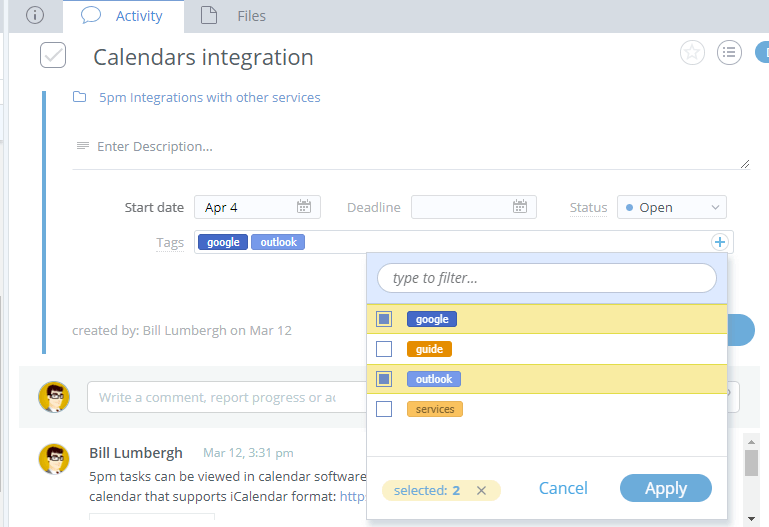
When adding/editing a project/task you can add tags to it by simply typing their names in the Tags field, separates by commas. New tags are created on the fly. But you can also select from the list of existing tags (already added to other projects/tasks):
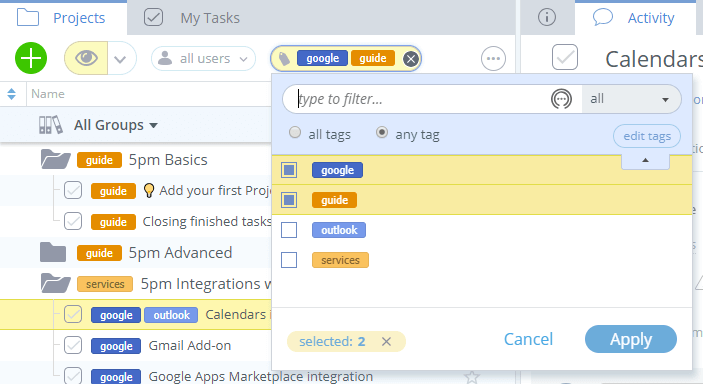
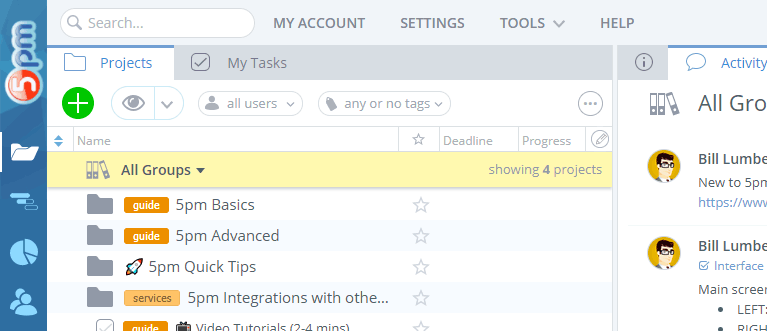
Tags are used as a visual reference and a way to categorize projects and tasks. You can filter projects/tasks by tags in the Main View, Timeline and Reports:
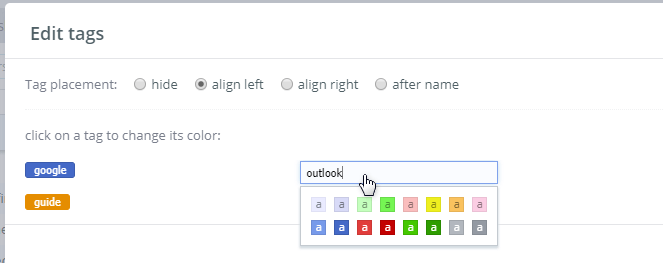
You can edit existing tags by changing a tag's color, renaming or deleting it:
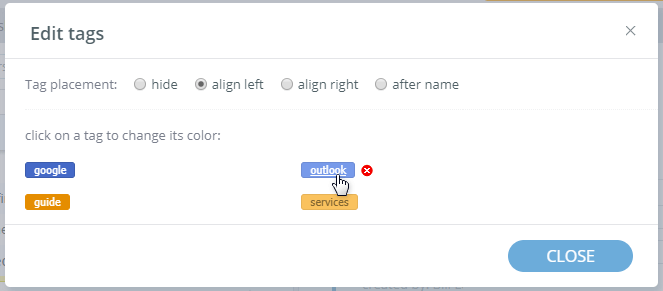
You can also customize where the tags will be displayed: in front or after the project/task names, or even hide them from your view:
You can also open individual projects in separate tabs. Simply use the "Open in new tab" option from the project menu (you can use the right click on a project to access it):
Each tab can be customized separately — read more on interface customization.
Deadline Reminders
You can enable Deadline Reminders via the "Settings/Personal" screen:
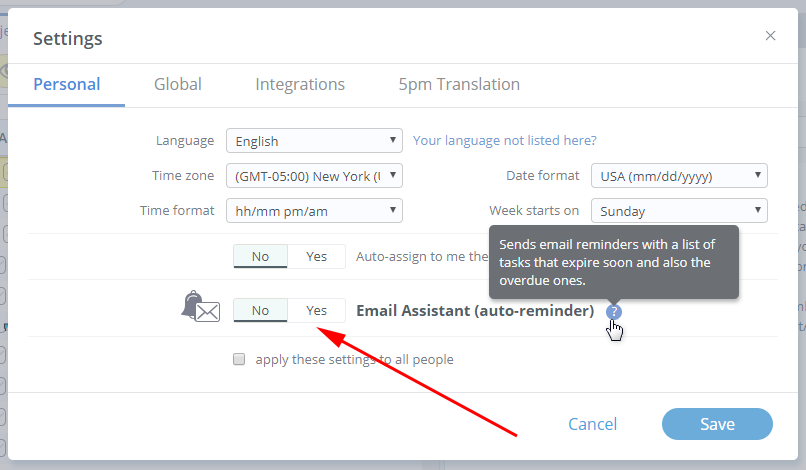
When enabled, Deadline Reminders will send you emails notifications with the list of your tasks (assigned to you) that have their deadlines approaching and the ones that are overdue.

You can customize on which days and at what hour you want the emails generated, how long in advance of a deadline and of what level of priority to include the tasks.
Your Deadline Reminders are also displayed in the Notification Center.
If you have a small screen or just want to see more 5pm content at once, you can now use Full Screen (Shift + F) and Zen Mode (Shift + Z).
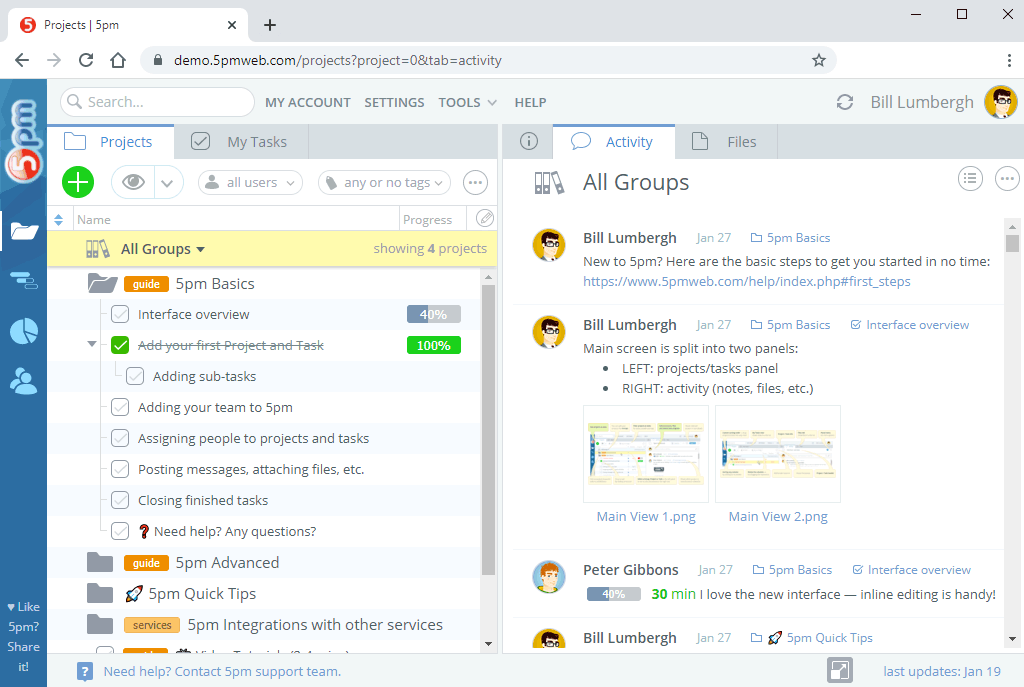
This covers the basics of 5pm main interface. Now it is time to try it in action!
Logo and other Customizations
Want to replace 5pm logo with the logo of your company? No problem! Simply open Settings>Global window (Admin access required):
The logo customization screen allows you to upload your file and shows you a preview of how it will look in main and login screens.
We recommend uploading a PNG with transparency file. If there is transparency, you can also fill its background with white. The main interface logos can be rotated to be placed vertically (like we do with the 5pm logo):
You can link the logo to your website or any other web page.
You can also customize your favicon (the icons displayed in your browser tabs for each website).
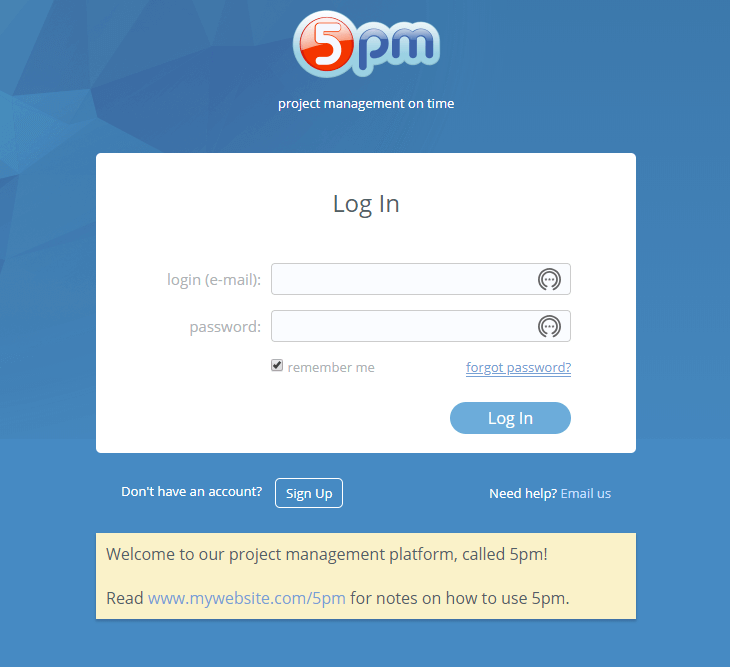
You can also customize the Welcome message:
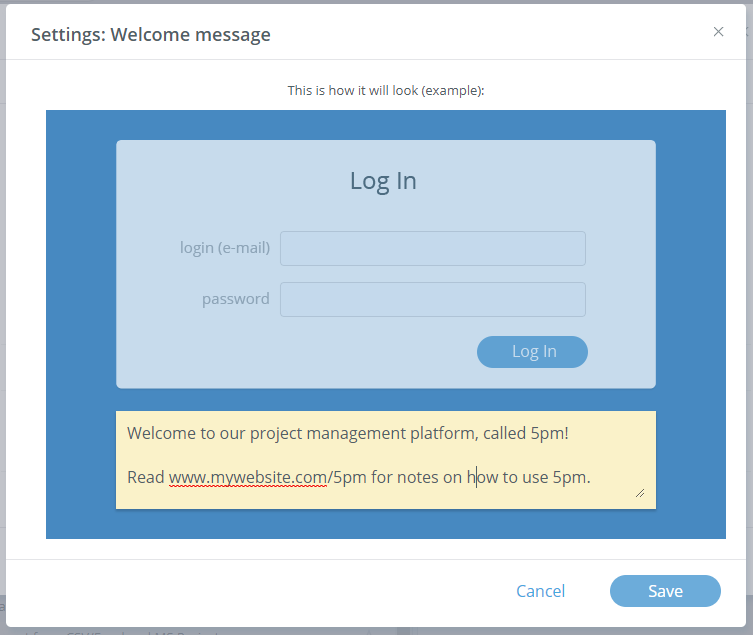
Links will automatically becomes clickable. You can also use simple HTML formatting (links, text styles, etc.). The messages will be displayed right under the login area for each user:
This could be useful for displaying a custom message for your team. Within the message you can include link(s) for further details.
You can also customize email header and/or footer of 5pm notifications:
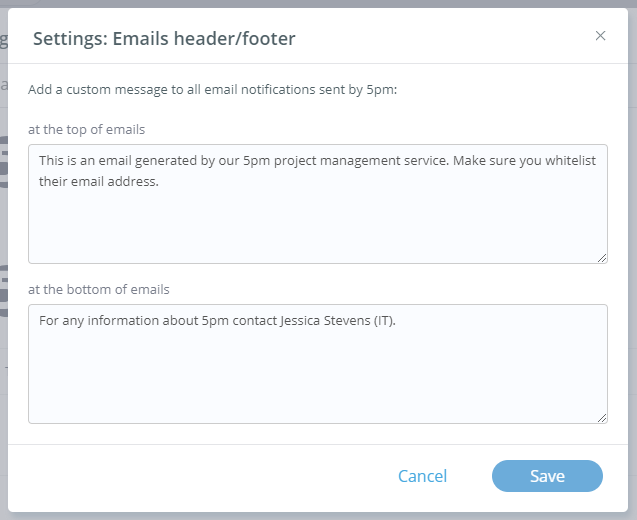
Those texts will be added to the top and bottom of the emails that are generated by 5pm, when your teammates decide to send email notifications: